How to Crochet a Simple Granny Square Blanket: Free Pattern
Soft wool loops resting against your knees turn a chilly evening into a cozy refuge as you work on this portable granny square project. These squares feel substantial and warm, making them a reliable choice for beginners who want to build muscle memory without the pressure of a complicated pattern. You will see how simple double crochet clusters and chain spaces create a classic texture that grows quickly in your hands. Whether you are using up a stash of leftover yarn for a custom throw or crafting a thoughtful handmade gift, this rhythmic process turns a pile of odds and ends into a cherished heirloom.
Why You’ll Love This Pattern
The Classic Crochet Granny Square is the quintessential project for building fundamental skills while creating a versatile building block for larger items. It relies on clusters of double crochet stitches worked into chain spaces, which creates a rhythmic, predictable flow perfect for long crafting sessions. Because this pattern works in joined rounds, you can easily switch colors at the start of each round to clear out your scrap yarn bin. The construction is inherently modular, meaning you can stop after a few rounds for a small coaster or continue until you have a large, warm blanket square.
I started this project to use up leftover yarn from my winter sweaters and ended up making an entire colorful throw. The pattern is so easy to memorize that I could work on it while watching movies without losing my place.
— Sarah, hobbyist crocheter
Pattern Overview & Skill Level
- Skill Level: Beginner
- Approximate Time: 30 to 45 minutes per square
- Construction: Working in the round, joining with a slip stitch at the end of each round, and turning or continuing in the same direction
- Finished Dimensions: Approximately 6 inches by 6 inches when using worsted weight yarn
Materials & Supplies Needed
- Yarn: Worsted weight (#4), 100% wool or acrylic, approximately 20 yards per square.
- Hook Size: 5.0 mm (H-8).
- Notions: Tapestry needle for weaving in ends, sharp scissors.
- Safe yarn substitutions: You can use DK weight yarn with a 4.0 mm hook for a smaller, tighter square, or bulky weight yarn with a 6.0 mm hook for a larger, faster-working square. Adjusting yarn weight will change the final dimensions of the project.
Stitch Guide & Abbreviations (US Terms)
- ch = chain
- st = stitch
- sl st = slip stitch
- dc = double crochet
- cluster = a group of 3 dc stitches worked into the same space
- sp = space
- MR = magic ring
Step-by-Step Pattern Instructions
Granny Square Body
The square is worked in continuous rounds, joining at the end of each round and chaining up to start the next.
- Rnd 1: Start with a MR. Ch 3 (counts as first dc), work 2 dc into the ring, ch 2, *3 dc into the ring, ch 2; repeat from * twice more. Join with a sl st to the top of the initial ch-3. (12 dc, 4 ch-2 spaces)
- Rnd 2: Sl st into the next ch-2 space. Ch 3, 2 dc in the same space, ch 1, *[3 dc, ch 2, 3 dc] in the next ch-2 space (corner), ch 1; repeat from * twice more, then 3 dc in the final space, ch 2, join with a sl st to the top of the initial ch-3. (24 dc, 4 ch-2 corners, 4 ch-1 side spaces)
- Rnd 3: Sl st into the next ch-1 space. Ch 3, 2 dc in the space, ch 1, *[3 dc, ch 2, 3 dc] in the next ch-2 corner, ch 1, 3 dc in the next ch-1 space, ch 1; repeat from * around, ending with 3 dc in the final side space, ch 2, join with a sl st to the top of the initial ch-3. (36 dc, 4 corners)
- Rnd 4: Continue pattern by working [3 dc, ch 2, 3 dc] in every corner and 3 dc into every ch-1 side space along the edges. Join each round with a sl st to the top of the starting ch-3. (48 dc)
Finishing
After reaching your desired size, fasten off leaving a 6-inch tail. Use the tapestry needle to weave the yarn tail through the back loops of the finished stitches to secure it. If making multiple squares, you can join them using a whip stitch through the back loops only or a flat slip stitch seam.
Care & Washing Instructions
- Hand wash your finished squares in cool water using a mild wool-safe detergent to preserve fiber integrity.
- Lay the squares flat on a clean towel and reshape them while damp to ensure the corners remain square during drying.
- Avoid using a tumble dryer, as heat can shrink natural fibers and cause synthetic fibers to lose their stitch definition.
Pro Tips & Common Mistakes to Avoid
- Consistent tension is key to a square shape; if your corners start to curl, you may be working your stitches too tightly, so try moving up a hook size.
- Always place a stitch marker in the top of your starting chain-3 so you can easily identify the join point at the end of each round.
- When weaving in ends, work the yarn tail through the base of the stitches on the wrong side of the work to keep the front face looking smooth and professional.
- To adjust the size of the square, simply repeat the pattern of working clusters in spaces for additional rounds; note that each extra round will require approximately 10 to 15 percent more yarn than the previous one.
Frequently Asked Questions
Can I use a different weight of yarn than recommended?
Yes, you can use any yarn weight as long as you pair it with an appropriately sized hook. Heavier yarn will result in a larger, thicker square, while lighter yarn will produce a delicate, smaller square.
Is this pattern suitable for someone who has never crocheted before?
This pattern is ideal for beginners because it focuses on the double crochet stitch and chaining, which are the most common movements in crochet. Take your time with the magic ring, as it can be tricky to manage on the first attempt.
How do I join these squares together to make a blanket?
The most common method is the whip stitch, where you align two squares with right sides facing and sew through the back loops of the edges. You can also use a slip stitch join through the back loops to create a visible, decorative ridge.
Am I allowed to sell items made from this pattern?
As the designer, I permit the sale of finished items created from this pattern. I only ask that you provide a link back to this tutorial if you are selling them online so others can find the source.
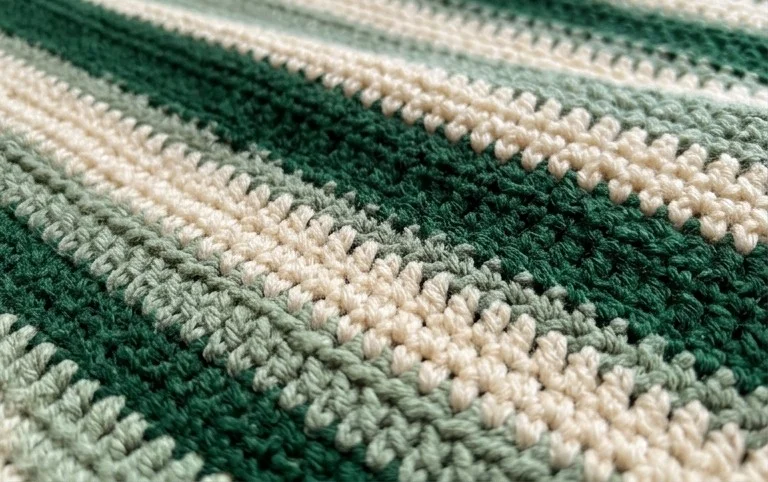
Seeing your individual squares join together into a finished throw brings a genuine sense of accomplishment to your crafting space. You might try alternating your colors in a random sequence to give the blanket a modern, scrappy look or stick to a two-tone palette for a clean design. Take a photo of your finished work and share it with the community to inspire others who are starting their own blankets. Feel free to browse our collection of other simple projects if you want to keep your hands busy with more yarn projects.