Easy Ribbed Crochet Beanie Pattern: Step-by-Step Guide
This hat has a dense, squishy texture that keeps your ears warm even on the coldest winter walks. It is a fantastic project for anyone learning to crochet because it uses a single repeating stitch to create a sophisticated, store-bought look without the headache of round-by-round counting. You will find that the rhythm of the half double crochet stitch is incredibly meditative, making this a reliable choice for a quiet weekend evening. After we cover the essential supplies and yarn choices, you will see how simple it is to build the rectangle that eventually transforms into this cozy, classic accessory.
Why You’ll Love This Pattern
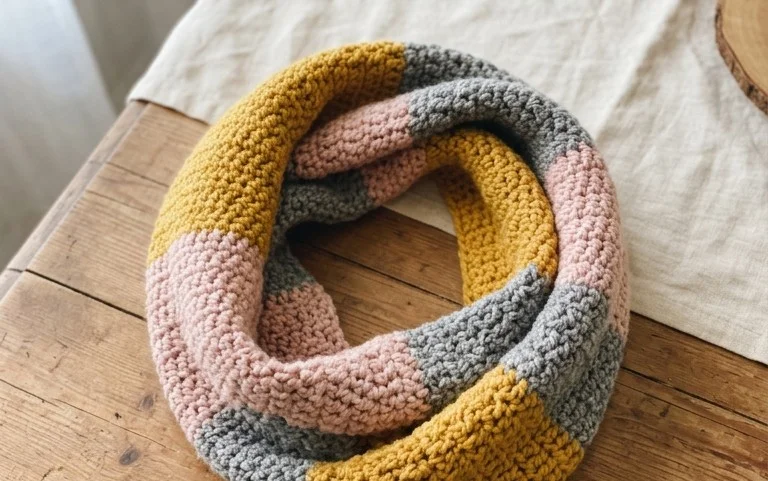
This crochet ribbed beanie pattern uses a simple construction method that mimics a professional knit-look finish using only a basic half double crochet stitch. Because it is worked as a flat rectangle and then seamed, it eliminates the need for complex circular shaping. The fabric is stretchy, dense, and warm, making it an excellent choice for winter gear. You will find that the rhythmic nature of the back-loop-only technique makes for a relaxing project that can be finished in a single weekend. It is also highly adaptable for different head sizes by simply adding or subtracting foundation chains.
I managed to whip up three of these hats for my nephews last weekend. The pattern is incredibly straightforward and the ribbed texture holds its shape even after multiple washings.
— Sarah, hobbyist crocheter
Pattern Overview & Skill Level
- Skill Level: Beginner
- Approximate Time: 3 to 5 hours
- Construction: Worked flat in rows to create a rectangle, then seamed vertically and cinched at the top to form the crown.
- Finished Dimensions & Sizing: Fits an average adult head (20–22 inches circumference). Height is adjustable.
Materials & Supplies Needed
- Yarn: Worsted weight (#4), wool or acrylic blend, approximately 200 yards.
- Hook Size: 5.5 mm (US I-9).
- Notions: Tapestry needle for seaming, locking stitch markers, and scissors. Optional: A faux fur pom-pom.
- Safe yarn substitutions: You may use cotton blends, though they will provide less stretch and warmth than wool or acrylic. If using a thinner yarn, increase your hook size or add more foundation chains to maintain size.
Stitch Guide & Abbreviations (US Terms)
- ch = chain
- hdc = half double crochet
- BLO = back loop only (insert hook under the back loop of the stitch instead of both loops)
- sl st = slip stitch
- st(s) = stitch(es)
- FO = fasten off
Step-by-Step Pattern Instructions
This beanie is worked sideways as one large rectangle. The number of chains determines the height of the hat, and the number of rows determines the circumference.
The Main Body
- Row 1: Ch 41. Hdc in the second ch from hook and in each remaining ch across. Turn. (40 sts)
- Row 2: Ch 1, working in BLO, hdc in each st across. Turn. (40 sts)
- Rows 3–60: Repeat Row 2 until the piece measures approximately 18 inches unstretched. Do not FO.
Assembly and Finishing
- Seaming: Fold the rectangle in half so the short ends meet. With the wrong side facing out, slip stitch through the BLO of the foundation chain edge and the corresponding loops of the final row to join the sides, forming a tube.
- Closing the Crown: Cut a 12-inch tail of yarn. Using your tapestry needle, weave the yarn in and out of the ends of every other row along the top edge of the tube. Pull the yarn tail tight to gather the top closed. Secure with a knot.
- Final Touches: Turn the hat right-side out. Weave in all loose ends securely on the inside of the hat. Attach a pom-pom to the center of the crown if desired.
Care & Washing Instructions
- Hand wash in cool water using a gentle wool detergent.
- Lay flat on a clean towel to air dry, reshaping the hat while it is still damp to ensure the ribbed texture stays aligned.
- Do not wring or twist the hat, as this can stretch the stitches and compromise the elasticity of the brim.
Pro Tips & Common Mistakes to Avoid
Maintain consistent tension throughout each row, especially when working the slip stitches for the seam, to ensure the ribbing looks uniform. Always count your stitches at the end of every row; missing the final stitch is a common mistake that will cause the top of your rectangle to taper. If you find the hat is too short, simply add more chains at the start of the project. To weave in your ends invisibly, follow the direction of the yarn strands within the stitches, moving the needle back and forth through the interior of the fabric rather than across the surface.
Frequently Asked Questions
Can I make this hat for a child instead of an adult?
Yes, you can adjust the size by decreasing the number of foundation chains for the height and working fewer rows for the circumference to fit the child’s head measurements.
Is this pattern suitable for complete beginners?
This is a great first garment project. It requires only one stitch type, which helps build muscle memory and consistent tension without the complication of increasing or decreasing stitches.
Can I use a different yarn weight?
You can use a bulkier yarn for a thicker, faster-working hat. Remember that using a heavier weight will require fewer starting chains and potentially fewer rows, so check your gauge against the intended head measurement as you work.
Am I allowed to sell hats made from this pattern?
You are welcome to sell finished items made from this design. Please credit the pattern designer when listing your items online or at local markets.
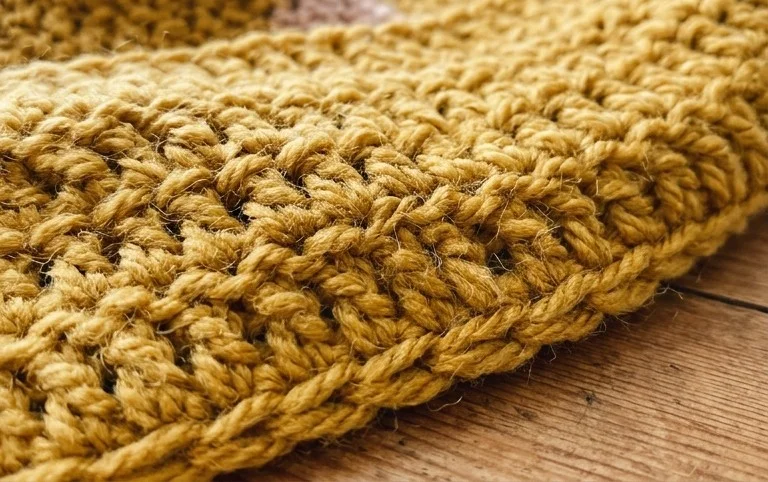
Your finished hat should feel sturdy and warm against your forehead, ready for any chilly day. If you want to experiment, try holding a strand of mohair together with your main yarn to create a soft halo effect or add a bold, contrasting color stripe for a custom look. Please tag me in your photos on social media so I can see which colors you chose for your own version. You are always welcome to browse the rest of the blog for more free patterns to fill your creative queue.