Easy Little Star Crochet Basket: Free Beginner Pattern
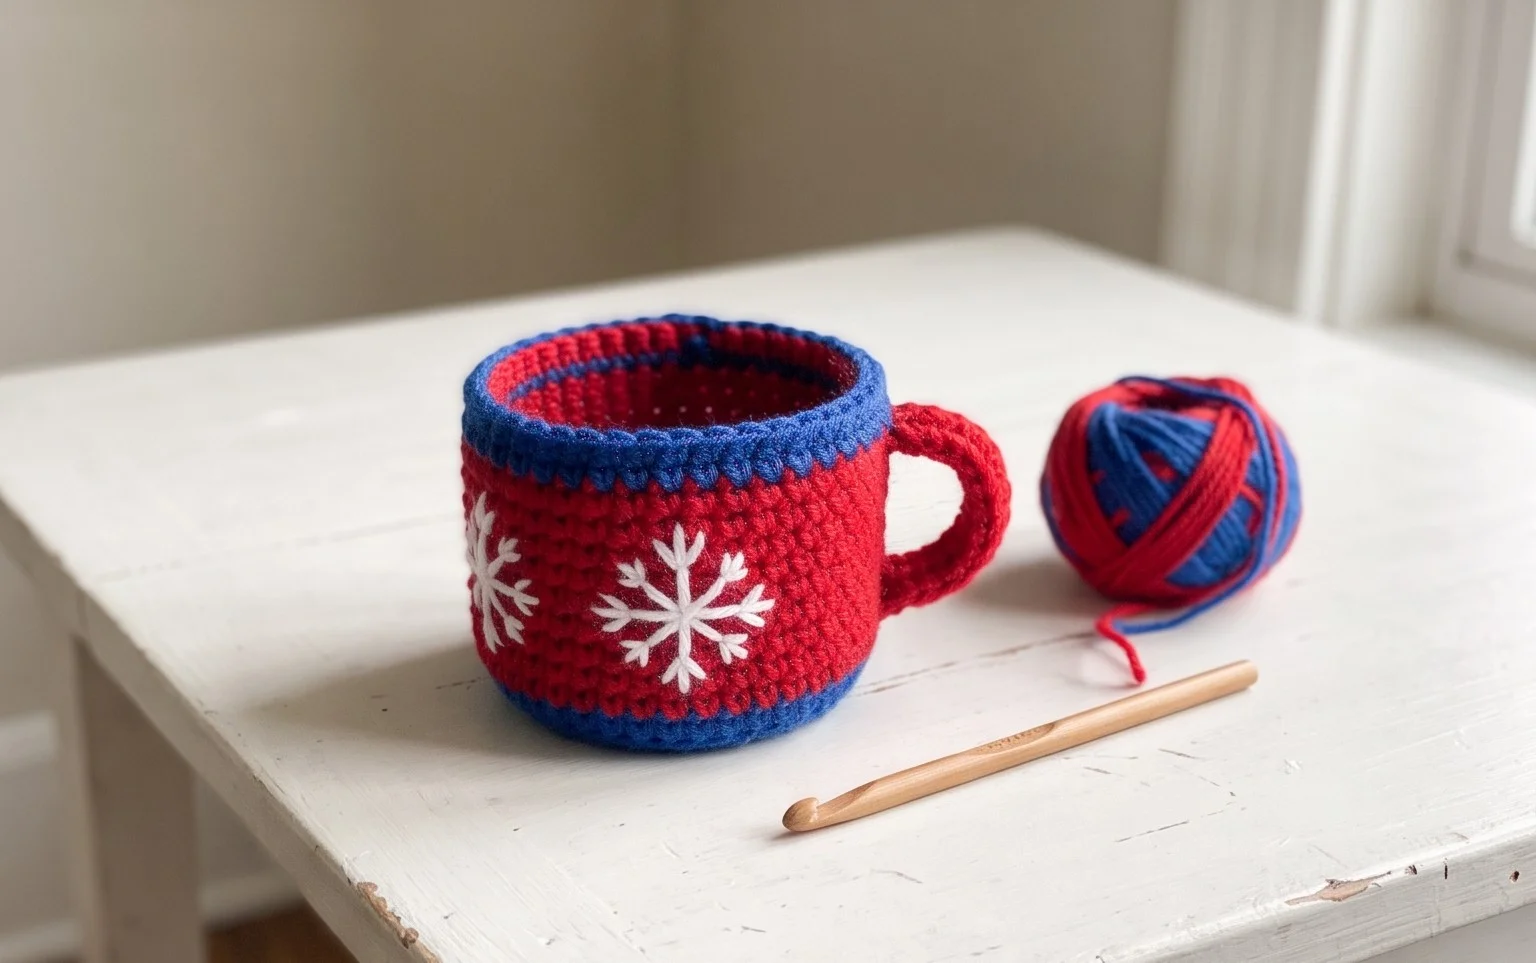
This tiny basket sits firmly on a cluttered desk, keeping loose stitch markers and scissors in one place. The dense, thick stitches create a structured shape that feels like a solid little bowl in your hands rather than a floppy fabric container. Beginners usually appreciate how this project builds confidence because it focuses on basic growth patterns without confusing color changes or shaping headaches. You will master the single crochet spiral technique while creating a functional item that clears off your workspace in an afternoon. This simple design provides a satisfying sense of accomplishment for anyone who enjoys seeing a quick, usable result from their yarn stash.
Why You’ll Love This Pattern
The Classic Crochet Storage Basket is a functional project designed for durability and quick completion. Its thick, sturdy walls hold their shape well, making it ideal for organizing yarn scraps, crochet hooks, or desk supplies. Because it uses a simple stitch repeat and a large hook, you can finish the entire project in a single afternoon. This makes it an excellent choice for clearing out your stash, as bulky or heavy-weight yarns work perfectly to create the necessary structural density.
I finished this basket in just two hours and it is surprisingly rigid. It holds all my notions perfectly and looks great on my side table.
— Sarah, Intermediate Crocheter
Pattern Overview & Skill Level
- Skill Level: Beginner
- Approximate Time: 2–3 hours
- Construction: Worked in continuous spiral rounds, starting from a flat circular base and moving into vertical sides.
- Finished Dimensions: 8 inches in diameter and 6 inches tall.
Materials & Supplies Needed
- Yarn: Super Bulky (#6) wool or cotton blend, approximately 150 yards. Using a non-stretchy fiber like cotton or a cotton-acrylic blend helps the basket stand upright.
- Hook Size: 9.0 mm (M/N-13).
- Notions: Large eye tapestry needle for weaving in ends, a locking stitch marker to keep track of the start of rounds, and scissors.
- Yarn Substitutions: You may hold two strands of Worsted (#4) yarn together if you do not have Super Bulky yarn. This will maintain the gauge, though the finished texture will be slightly more variegated.
Stitch Guide & Abbreviations (US Terms)
- MR: Magic Ring.
- ch: Chain.
- sc: Single crochet.
- inc: 2 sc in the same stitch.
- sl st: Slip stitch.
- BLO: Back loop only. Working in the back loop creates a distinct ridge, which helps the transition from the base to the sides of the basket.
- st/sts: Stitch/stitches.
Step-by-Step Pattern Instructions
Basket Base
- Rnd 1: Start with a MR and work 6 sc into the ring. Tighten to close. (6 sts)
- Rnd 2: 2 sc in each st around. (12 sts)
- Rnd 3: 1 sc, inc repeat around. (18 sts)
- Rnd 4: 2 sc, inc repeat around. (24 sts)
- Rnd 5: 3 sc, inc repeat around. (30 sts)
- Rnd 6: 4 sc, inc repeat around. (36 sts)
- Rnd 7: 5 sc, inc repeat around. (42 sts)
Basket Sides
- Rnd 8: Sc in BLO of every stitch around. This creates the bottom edge of the basket. (42 sts)
- Rnd 9-18: Sc in both loops of every stitch around. Use your stitch marker at the beginning of each round to ensure your counts remain consistent. (42 sts per round)
Finishing
To finish the basket, complete a final round of slip stitches into every stitch to create a reinforced, clean edge. Fasten off your yarn, leaving an 8-inch tail. Use your tapestry needle to weave the tail through the back of the stitches, knotting it securely to prevent the basket from unravelling. If the sides feel soft, you can use a steam iron at a low setting to block the walls into a crisp, upright position.
Care & Washing Instructions
- Hand wash the basket in cool water with a mild wool-safe detergent to avoid shrinking or losing the shape of the fibers.
- Gently squeeze out excess water using a towel and reshape the base and sides while damp.
- Lay the basket flat on a clean surface to air dry completely, as hanging it may cause the bottom to sag or stretch.
Pro Tips & Common Mistakes to Avoid
Maintaining tight tension is the most important part of this project. If your stitches are too loose, the basket will collapse under its own weight. Use a hook size slightly smaller than the one recommended on the yarn label to force a tighter, more structural fabric. Always place a stitch marker in the first stitch of every round; since you are working in a continuous spiral, it is easy to lose your place without a visual indicator.
If you want to adjust the size of the basket, you can simply continue the base increases (adding 6 stitches per round) until the desired diameter is reached, then proceed to the sides. Keep in mind that increasing the size will significantly increase your yarn consumption, so ensure you have enough material before starting the sides. When weaving in your ends, anchor them back and forth through the thick stitches to ensure they do not pull through after repeated use.
Frequently Asked Questions
Can I use acrylic yarn instead of wool?
Yes, but choose a high-quality, stiff acrylic. Soft, silky acrylic yarns will result in a floppy basket that does not hold its shape well.
Is this project suitable for a complete beginner?
This pattern is very approachable for beginners. It focuses on the fundamental single crochet stitch, which provides excellent practice for maintaining consistent tension.
Can I sell the baskets I make from this pattern?
You are welcome to sell items made from this pattern, provided you credit the designer. Please use your own photos rather than my promotional imagery when listing your items.
What should I do if the basket sides start to lean?
If the sides tilt, your stitch count may have dropped. Count your stitches at the end of each round to ensure you still have exactly 42 stitches. If it is still leaning, try using a firm spray starch to help stiffen the sides.
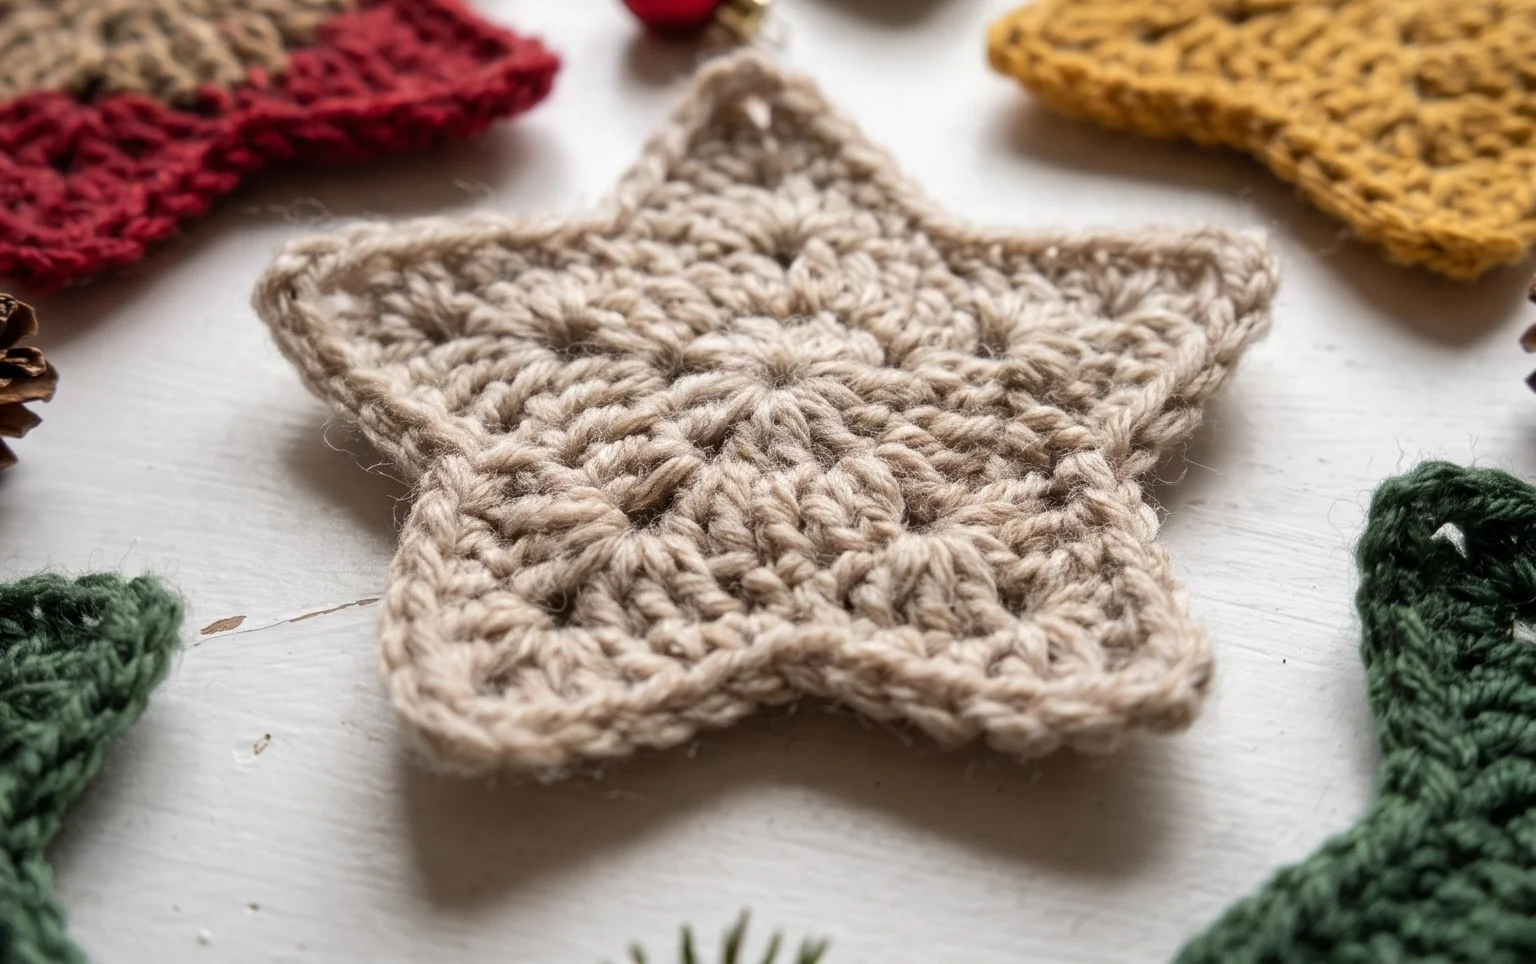
Your finished basket brings a tidy sense of order to your craft room or coffee table, proving that simple supplies can produce such a useful result. Try holding three strands of thinner cotton yarn together to create a unique, marled color effect for your next version of this storage piece. Please share a photo of your work on Instagram or Pinterest to show how you styled yours. You can find more free designs for your home and creative space by browsing through the other pattern archives on this blog.