Crochet Bluebell Sun Hat Pattern: Free Beginner Tutorial
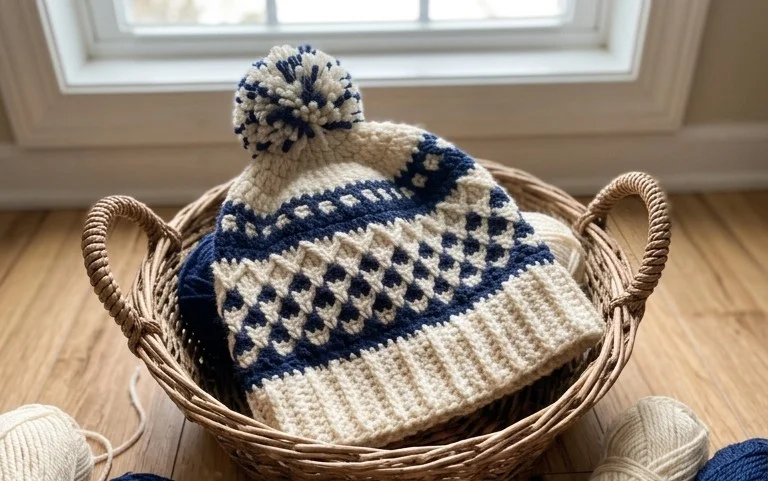
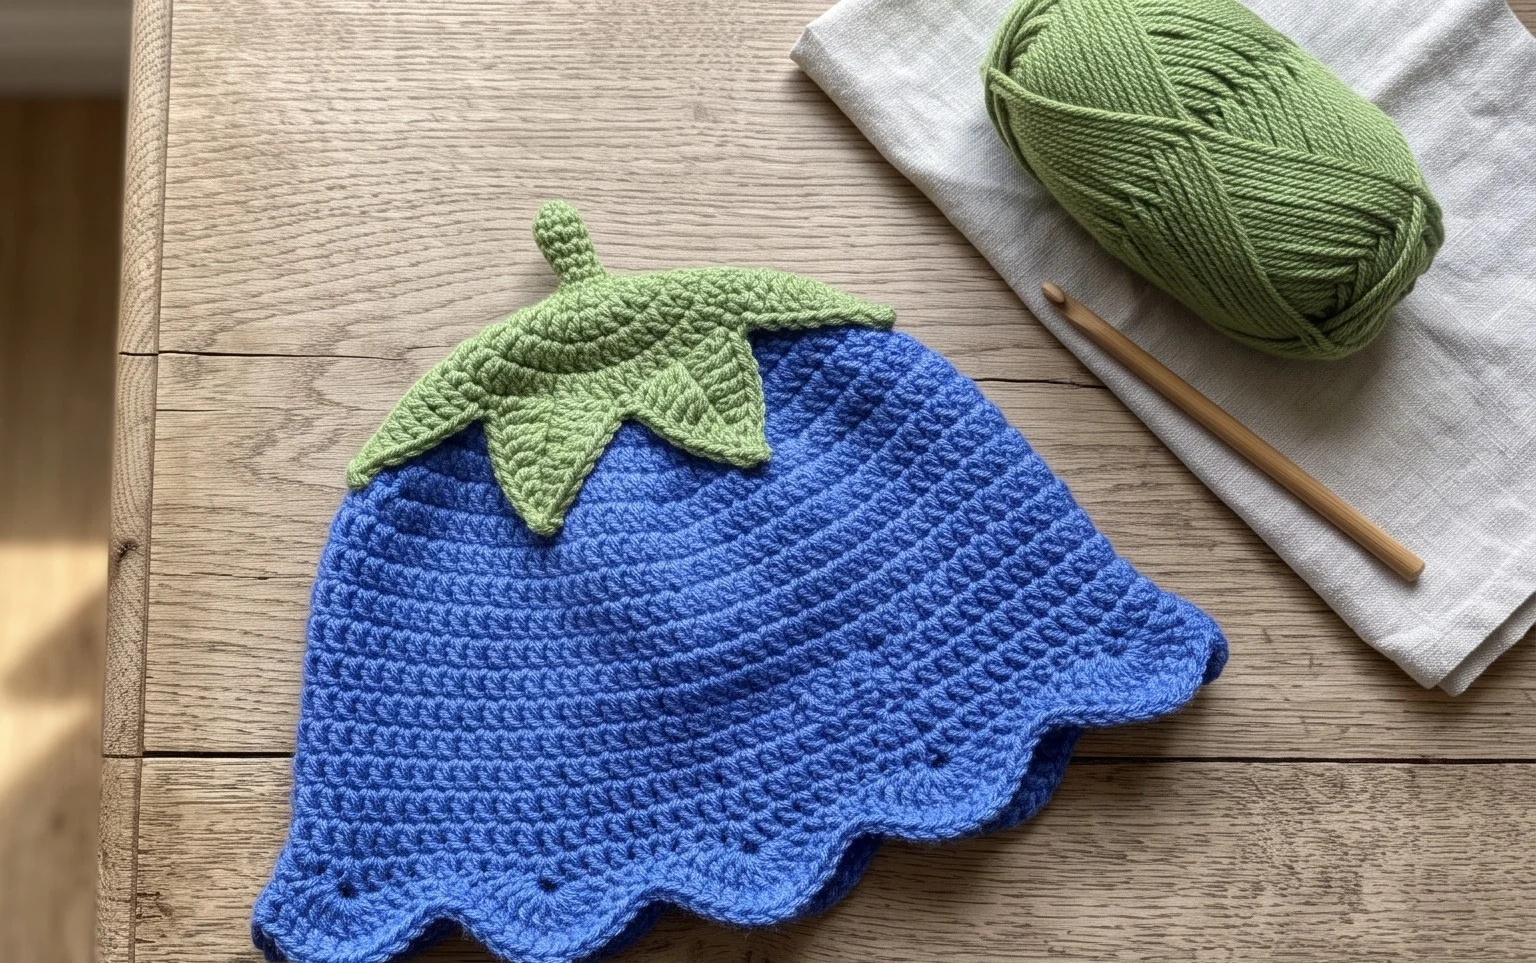
This delicate sun hat features a soft, petal-like brim that mimics a blooming bluebell, making it a favorite for outdoor summer days. The lightweight cotton yarn provides breathable comfort against sensitive skin, while the structured crown keeps the shape secure during active play. You will find this project surprisingly quick to complete, even if you are new to working with decorative floral motifs. By mastering the simple shell stitch sequence, you gain the confidence to create custom accessories that fit perfectly. We walk through the specific tension needed to achieve that gentle, downward slope of the hat brim.
Why You’ll Love This Pattern
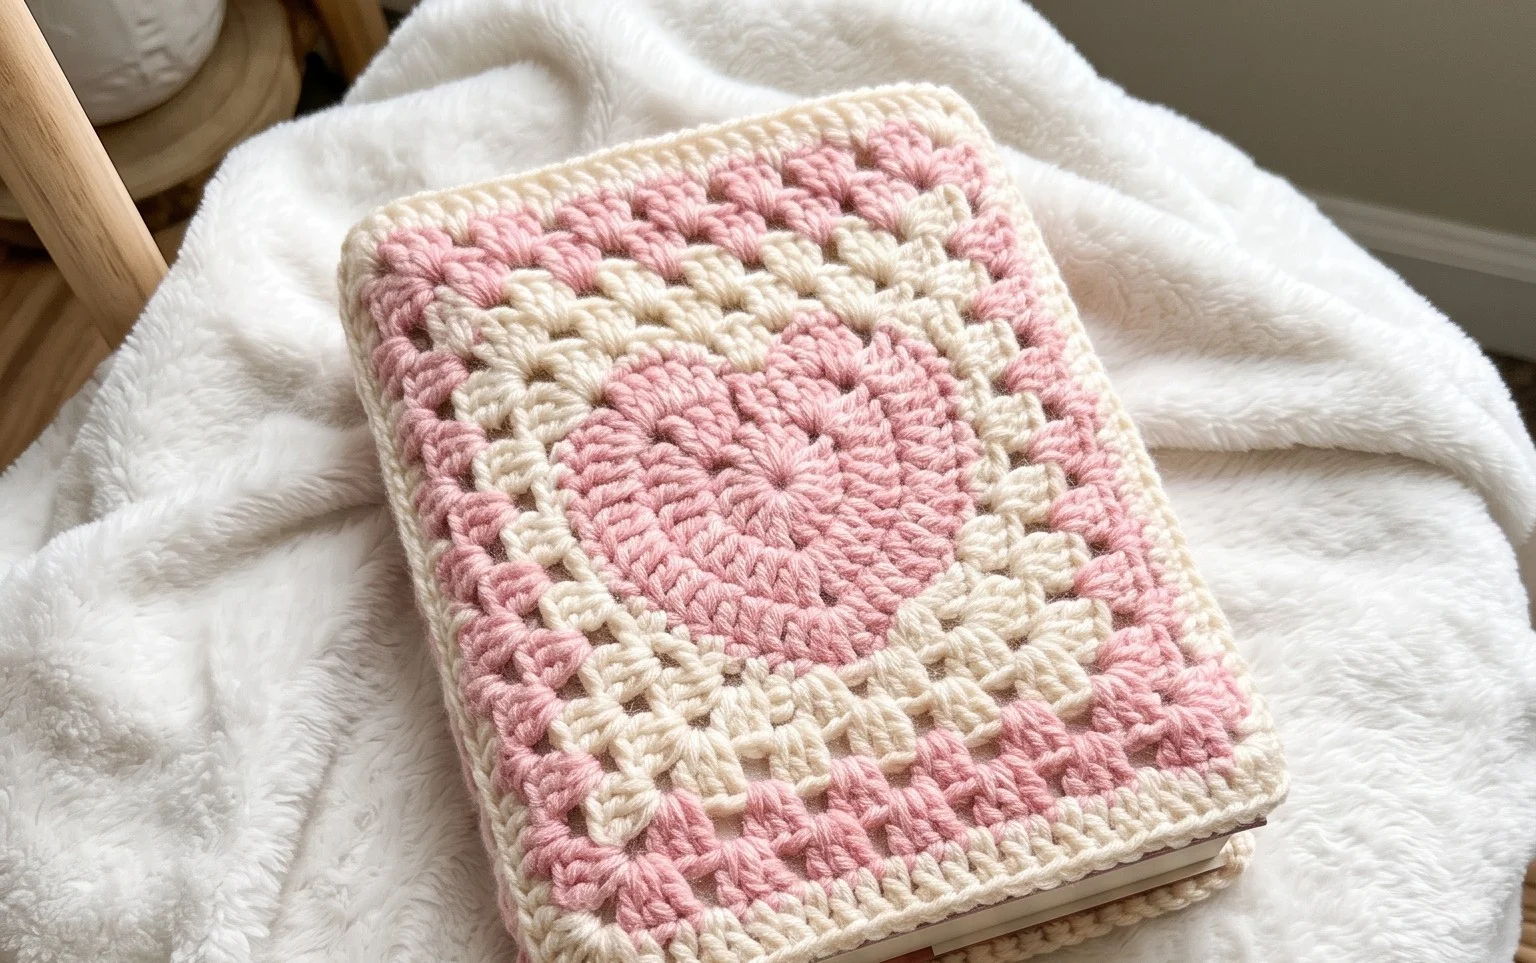
The Classic Crochet Granny Square is the fundamental building block of crochet design. This specific version uses a traditional three-double-crochet cluster technique that balances structure with drape. It works up quickly, making it an ideal choice for using up small amounts of leftover yarn from previous projects. Because the pattern relies on a repeating sequence, you can easily memorize the steps while relaxing. Beginners appreciate this project because it provides immediate feedback on tension and stitch placement within a contained, manageable shape.
I finally learned to keep my corners neat using this straightforward pattern. It is the first time a square actually laid flat for me instead of curling up like a bowl.
— Sarah, beginner crocheter
Pattern Overview & Skill Level
- Skill Level: Beginner
- Approximate Time: 30 to 45 minutes per square
- Construction: Worked in rounds, starting from the center and expanding outward
- Finished Dimensions: Approximately 6 inches by 6 inches using standard worsted weight yarn
Materials & Supplies Needed
- Yarn: Worsted weight (#4), 100% wool or acrylic blend, approximately 25-30 yards per square.
- Hook Size: 5.0 mm (US H-8) crochet hook.
- Notions: Tapestry needle for weaving in ends, sharp scissors.
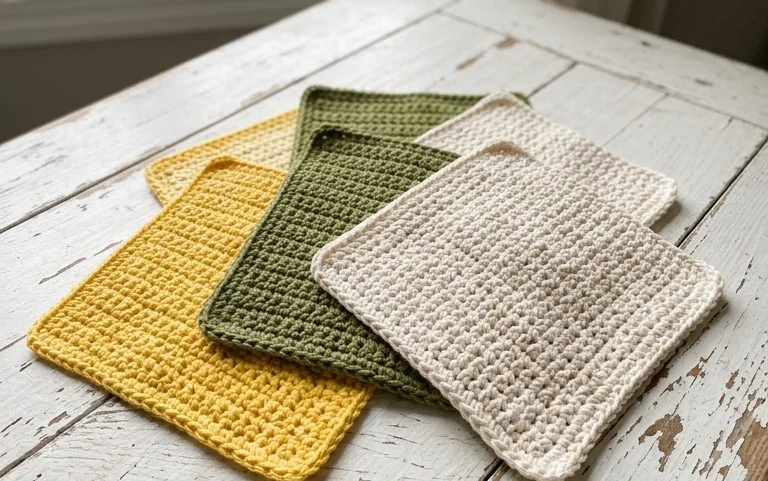
- Yarn Substitutions: Cotton yarn works well for dishcloths but creates a heavier, stiffer square. Bulky weight yarn will increase the finished dimensions significantly and requires a 6.0 mm hook.
Stitch Guide & Abbreviations (US Terms)
- ch: chain
- dc: double crochet
- sl st: slip stitch
- sp: space (the gap created by the chains in the previous round)
- cluster: a group of 3 dc stitches worked into the same space
- magic ring: a circular starting method that allows you to pull the center tight
Step-by-Step Pattern Instructions
Center and Foundation
- Rnd 1: Start with a magic ring. Ch 3 (counts as first dc), work 2 dc into the ring. Ch 2, 3 dc into the ring, ch 2—repeat from * to * two more times. Join with a sl st to the top of the beginning ch-3. (12 dc, 4 ch-2 spaces)
Expanding the Square
- Rnd 2: Sl st into the first ch-2 corner space. Ch 3, 2 dc in same space, ch 2, 3 dc in same space (first corner made). Ch 1, skip 3 dc, work 3 dc, ch 2, 3 dc all in the next corner space—repeat from * to * two more times. Ch 1, sl st to the top of the beginning ch-3. (24 dc, 4 ch-1 spaces, 4 ch-2 corner spaces)
- Rnd 3: Sl st into the first ch-2 corner space. Ch 3, 2 dc in same space, ch 2, 3 dc in same space. Ch 1, 3 dc in the next ch-1 space, ch 1, work 3 dc, ch 2, 3 dc in the next corner space—repeat from * to * two more times. Ch 1, 3 dc in the final ch-1 space, ch 1, sl st to the top of the beginning ch-3. (36 dc, 8 ch-1 spaces, 4 ch-2 corner spaces)
Finishing
Fasten off the yarn, leaving a 6-inch tail. Use your tapestry needle to weave the yarn tail through the back loops of the stitches on the reverse side of the square to secure it. Trim any excess yarn close to the fabric, being careful not to cut the stitches.
Care & Washing Instructions
- Hand wash in cool water using a mild detergent specifically designed for wool or synthetic fibers.
- Lay the square flat on a clean towel and reshape it into a perfect square while damp to ensure it dries evenly.
- Avoid using a tumble dryer, as heat can shrink natural fibers and distort the shape of the double crochet clusters.
Pro Tips & Common Mistakes to Avoid
- Tension Consistency: If your square begins to ripple or ruffle, your stitches are likely too loose. Try dropping down one hook size to tighten the clusters.
- Tracking Progress: Place a stitch marker in the top of the beginning ch-3 of every round. This ensures you always know exactly where to join the next round, preventing accidental increases or decreases.
- Weaving Ends: Weave ends in two different directions within the work. This prevents the ends from popping out or unraveling after multiple washings.
- Size Adjustments: To make the square larger, simply continue repeating Rnd 3, adding one additional 3-dc cluster in every ch-1 space along the sides for each new round. Note that increasing the size requires more yarn per round.
Frequently Asked Questions
Can I use a different yarn weight for this pattern?
Yes, you can use any yarn weight. Keep in mind that lighter yarns, such as sport or fingering weight, will result in a much smaller square, while thicker yarns will create a larger, denser piece. Always adjust your hook size to match the yarn manufacturer’s recommendation on the label.
How do I join these squares together?
You can join squares using a whip stitch or a single crochet seam. A whip stitch creates a flatter, nearly invisible seam, whereas a single crochet join adds a decorative ridge between the squares.
Is this pattern suitable for someone who has never held a crochet hook?
This is a foundational pattern. However, if you are a total beginner, it is helpful to practice the double crochet stitch individually before attempting to work in rounds to ensure your tension remains steady.
Am I allowed to sell items made from this pattern?
Yes, you are free to sell finished items created from this pattern. Please provide credit to the designer by including a link to the pattern page in your online shop listings or on physical tags.
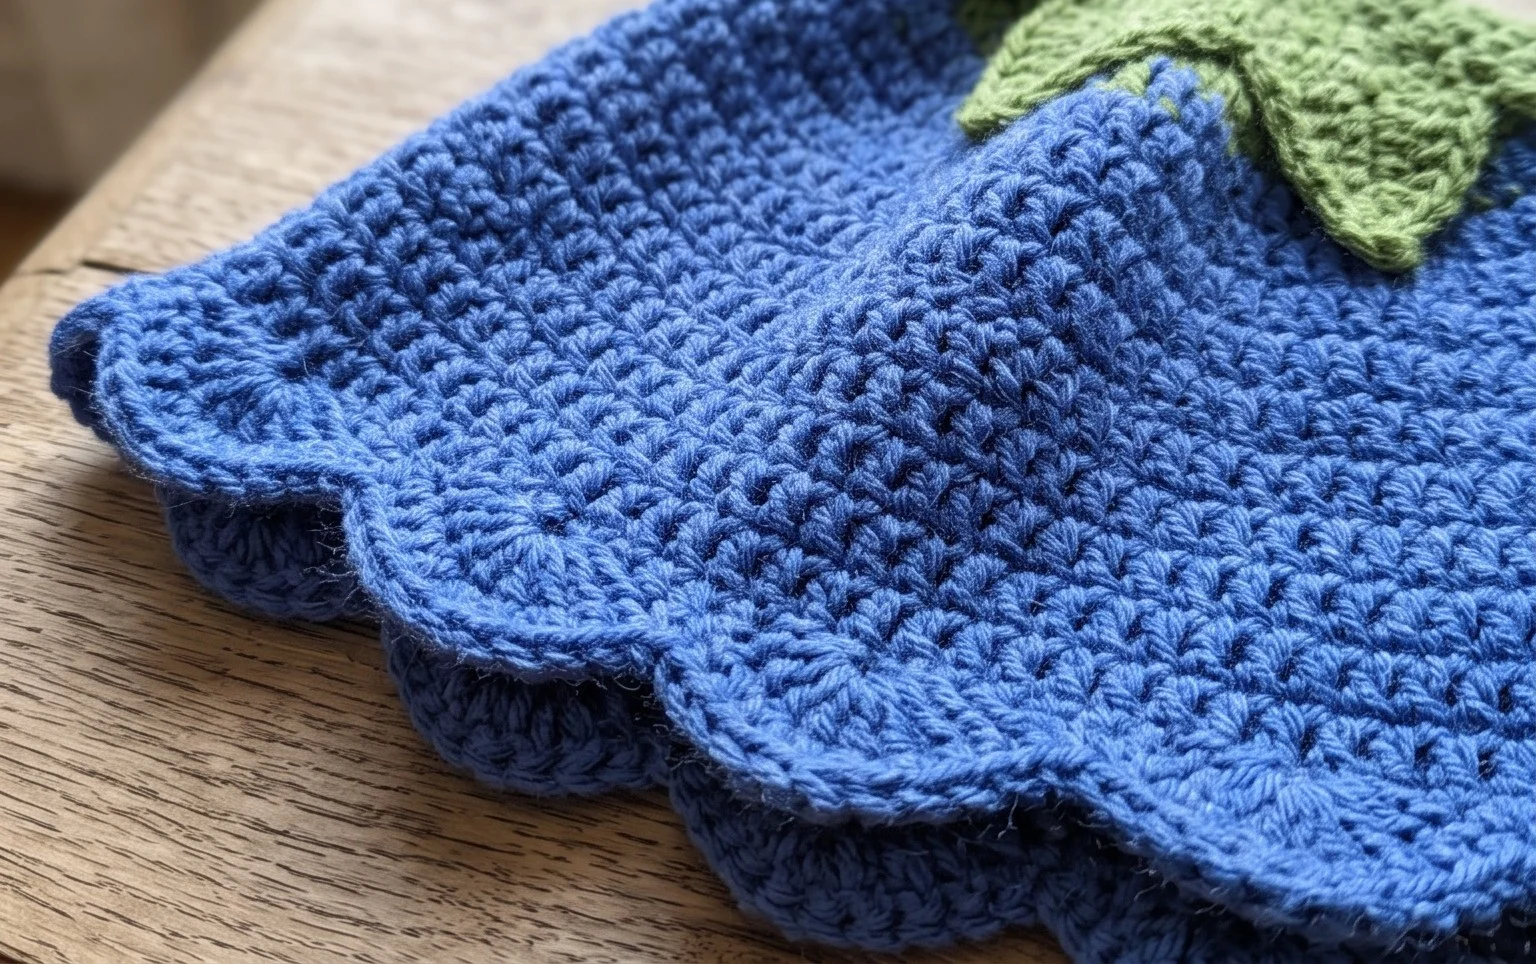
Seeing your handmade hat finished and ready for the first warm afternoon brings such a sense of pride. You can adjust this design for different ages by simply changing to a smaller hook or using a thinner sport weight yarn. If you decide to make a version in yellow or pink, please share a photo of your work on Instagram so we can see your creativity. You are welcome to browse our full archive of free patterns for your next afternoon project.