Easy Cotton Crochet Dishcloth: Free Beginner Pattern
Stiff, durable cotton loops form the ridges of this essential kitchen tool, creating a surface that scrubs away baked-on food while staying soft enough to rinse delicate glassware. This project suits anyone who wants to turn a lonely ball of yarn into a functional house staple in under thirty minutes. The tight weave provides enough substance to handle heavy scrubbing, yet the fabric remains flexible enough to reach into the corners of a deep mixing bowl. You will master the fundamentals of circular growth and invisible finishing techniques while creating a handmade item that lasts through dozens of hot water cycles.
Why You’ll Love This Pattern
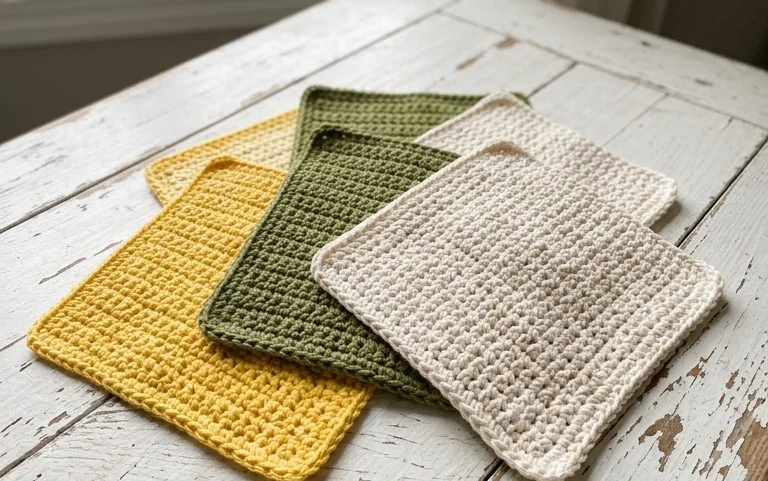
This beginner-friendly crochet coaster pattern provides a quick and satisfying way to use up those small leftover balls of cotton yarn sitting in your craft stash. The dense, circular construction ensures your surfaces remain protected from condensation and heat while maintaining a clean, professional aesthetic. Because the design relies on basic stitches and simple increasing, you can comfortably finish a full set of four in under an hour. It is a fantastic project for practicing consistent tension and perfecting the invisible join technique.
I managed to whip up a set of six in an afternoon using scraps of yarn from my larger basket projects. They hold their shape perfectly even after being tossed in the wash and are exactly what I needed for my coffee table.
— Sarah, casual crocheter
Pattern Overview & Skill Level
- Skill Level: Beginner
- Approximate Time: 15 minutes per coaster
- Construction: Working in continuous rounds with a spiral increase method to avoid visible seam lines
- Finished Dimensions: 4 inches in diameter
Materials & Supplies Needed
- Yarn: Worsted weight (#4) cotton yarn. Cotton is preferred for its heat resistance and absorbency. Approximately 15 yards per coaster.
- Hook Size: 5.0 mm (US H-8) crochet hook.
- Notions: Yarn needle for weaving ends, a pair of fabric scissors, and a stitch marker to track the start of rounds.
- Safe Yarn Substitutions: Acrylic yarn is a common substitute, though it lacks the heat-resistant properties of cotton and may melt if used for hot beverages. Wool will shrink significantly if felted, which may alter the intended size and shape.
Stitch Guide & Abbreviations (US Terms)
- MR = magic ring
- ch = chain
- st/sts = stitch/stitches
- sc = single crochet
- inc = increase (make 2 sc in the same stitch)
- sl st = slip stitch
- FO = fasten off
Step-by-Step Pattern Instructions
Coaster Body
- Rnd 1: Start with a MR, work 6 sc into the ring. Pull the tail tight to close the center hole. (6 sts)
- Rnd 2: Work 2 sc in each st around. (12 sts)
- Rnd 3: 1 sc in next st, inc in next st around. (18 sts)
- Rnd 4: 1 sc in next 2 sts, inc in next st around. (24 sts)
- Rnd 5: 1 sc in next 3 sts, inc in next st around. (30 sts)
- Rnd 6: 1 sc in next 4 sts, inc in next st around. (36 sts)
- Rnd 7: 1 sc in next 5 sts, inc in next st around. (42 sts)
Finishing
Once you reach the end of Round 7, work one final sl st into the next stitch to smooth out the edge. Cut your yarn, leaving a 6-inch tail. Pull the yarn tail completely through the loop. Thread the tail onto your tapestry needle and weave it under the loops of the final round to create an invisible join, then secure the end on the back side of the coaster and trim the excess.
Care & Washing Instructions
- Machine wash on a gentle cycle in cold water using mild detergent to preserve the fibers.
- Lay the coaster flat on a towel to air dry, shaping it with your hands while damp to ensure it remains perfectly circular.
- Do not bleach or iron, as high heat can damage the cotton fibers and cause the coaster to lose its structure.
Pro Tips & Common Mistakes to Avoid
Consistency in tension is vital for a flat coaster; if your stitches are too loose, the coaster will ripple, while stitches that are too tight will cause the edges to curl inward. Always use a stitch marker at the start of every round to keep track of your increases, as missing a single increase will result in a warped, non-circular shape. Weave your ends in by working back and forth through the stitches on the back side for at least one inch to ensure they do not pull out with regular use. If you wish to make a larger coaster, simply continue the increase pattern by adding one additional sc before the inc in each subsequent round, keeping in mind that you will require more yardage for every round added.
Frequently Asked Questions
Can I use a larger hook to make these coasters bigger?
Yes, using a larger hook will increase the overall diameter of the coaster by creating larger stitch loops. Note that this may result in a looser fabric that provides less protection for your surfaces.
Is this pattern suitable for someone who has never held a crochet hook?
This pattern is excellent for beginners because it uses only the single crochet stitch and simple increases. It allows you to focus on developing muscle memory for tension without complex stitch patterns.
How do I prevent the center of the coaster from having a hole?
Ensure you pull the tail of your magic ring firmly after completing the first round. You can also weave the tail back and forth through the base of the first six stitches on the back to pull them together tightly before securing the end.
Am I allowed to sell coasters made from this pattern?
You are welcome to sell finished items made from this design, as long as you credit the original pattern designer. Please ensure you use your own photographs when listing items for sale.
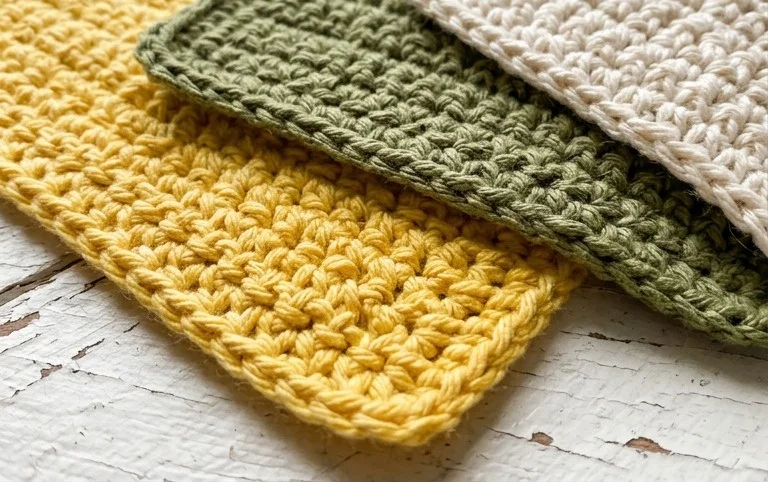
Your new handmade cloths provide a durable way to refresh your kitchen supplies using only basic yarn scraps. You can swap the solid color for a variegated cotton yarn to add visual depth to your sink area or increase the starting chain to turn this circular design into a larger hot pad. Please share a photo of your finished work on social media to show how your color choices turned out. Check the rest of the blog for more simple household projects that use your leftover materials.